
Are you looking to connect your Django application to Azure Active Directory? Are you trying to grab users and user data from Active directory? If so, you are in the right place. Today, we will talk about registering your Django application on Azure Active Directory and using Microsoft Graph API in order to filter through users and groups. In order to complete this application, we need to have an azure account, an active directory registered on azure, and knowledge of Python/Django.
Getting started
In order to move forward, we must download the following packages/libaries to our virtual env or pipfile.
Bullet Points:
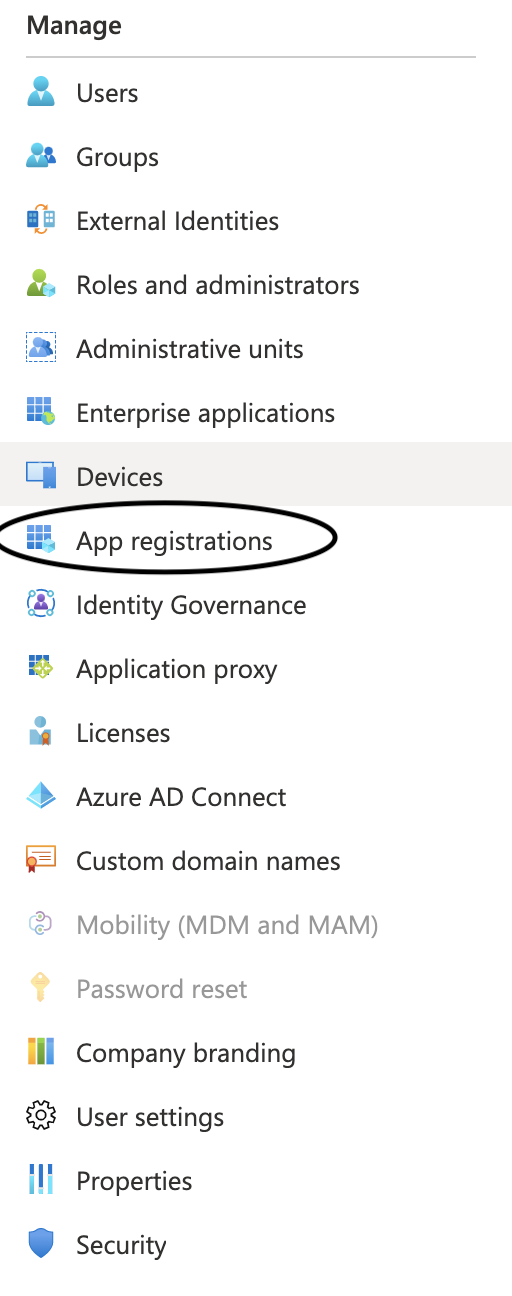
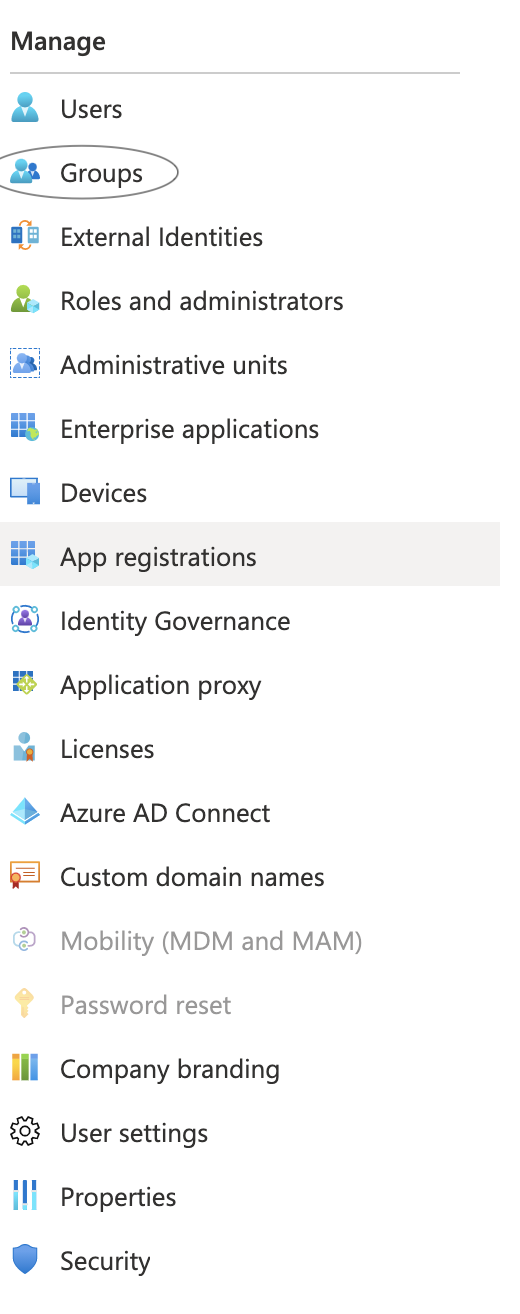
Once your packages are done installing, go to microsoft azure & login in. Once you are signed in, go to Azure Active Directory. Once you are in active directory, go to your left hand sign & click on App registrations (as shown below)
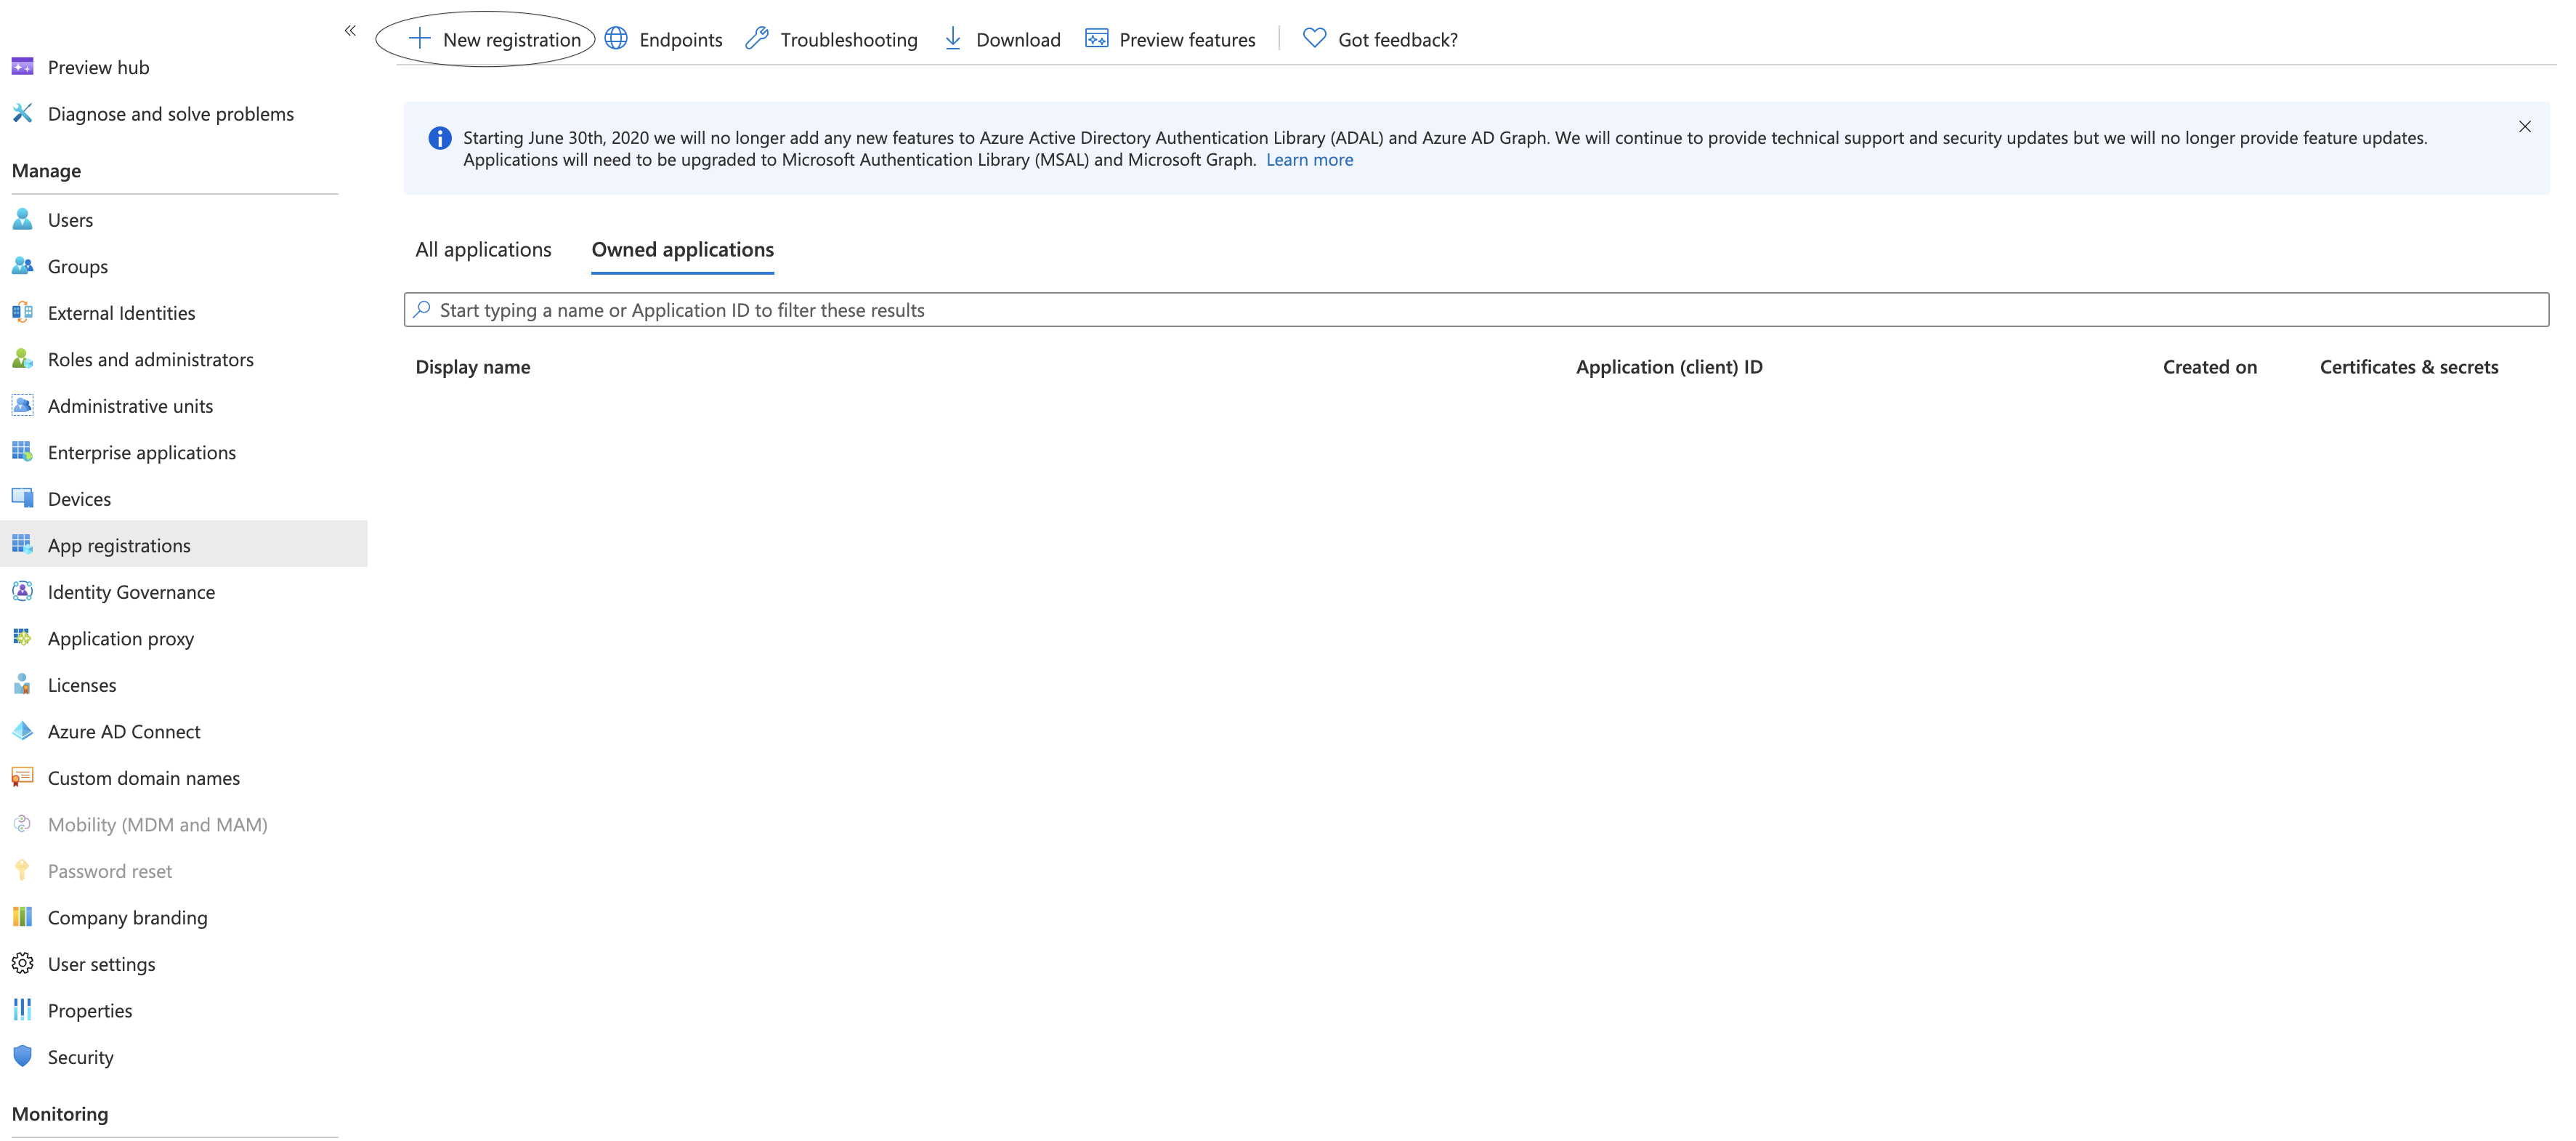
As shown below, click on "New registration" in order to register your Django App to Active Directory.
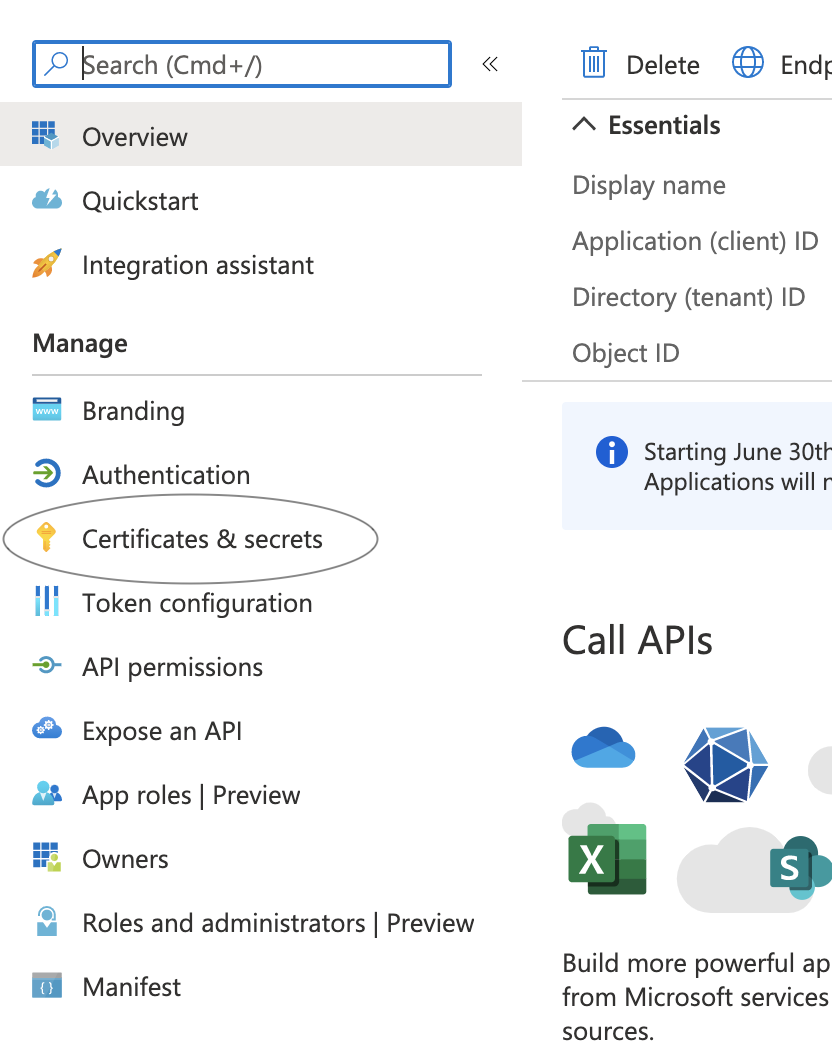
Enter the criteria you may need for your application that best fits your needs. Once registered, click on your application. Under overview, you can see your information such as Tenant ID, Client ID, and Object ID. WRITE DOWN YOUR TENANT ID & CLIENT ID AS YOU WILL NEED IT IN ORDER TO ACCESS ACTIVE DIRECTORY WITH YOUR PYTHON CODE.
Once you have your key information, go to your left hand side & click on Certifications & Secrets.
Under Client Secrets, click on "New Client secret" & generate a new key. WRITE DOWN YOUR CLIENT SECRET KEY AND MAKE SURE TO NEVER LOSE IT SINCE YOU WILL NEED IT FOR THE APPLICATION & ONCE A KEY IS GENERATED, YOU CAN NEVER LOOK AT THE VALUE EVER AGAIN ON ACTIVE DIRECTORY.
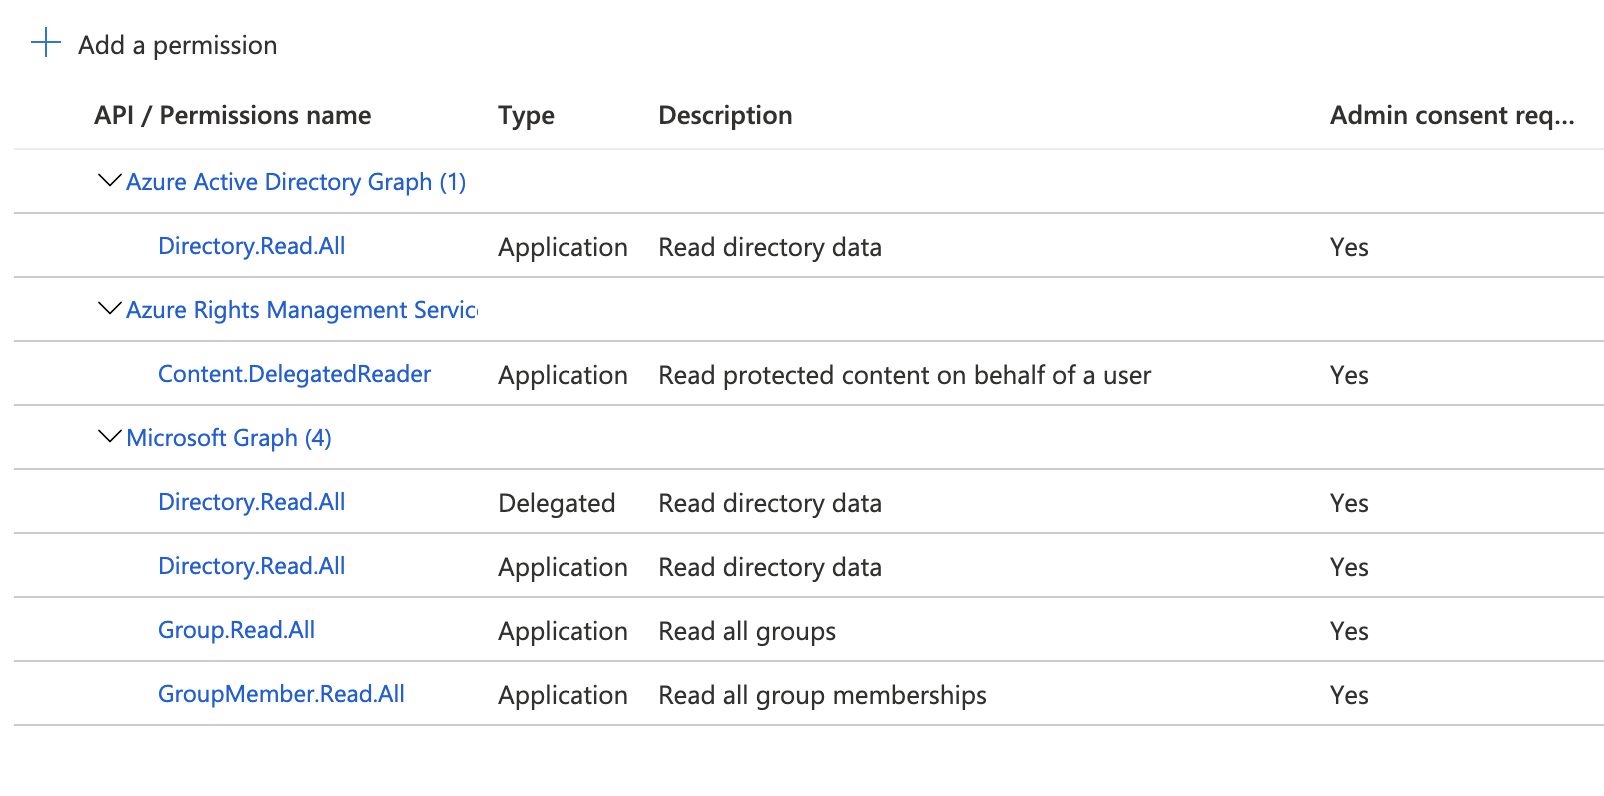
After you have written down your key, Go to your left hand side & click on API permissions. Click on "Add permissions" & then click on microsoft graph. The permissions you need in order to access active directory through your python application are listed below.
Getting Groups and Group members
In order to grab groups & group members information (such as username, email address, phone number, etc), we need to first grab their objectID from Azure Active Directory. In order to do that, we must go back to Microsoft Active Directory overpage and click on "Groups" (If you want to just grab a single user, just navigate to users & follow the same steps).
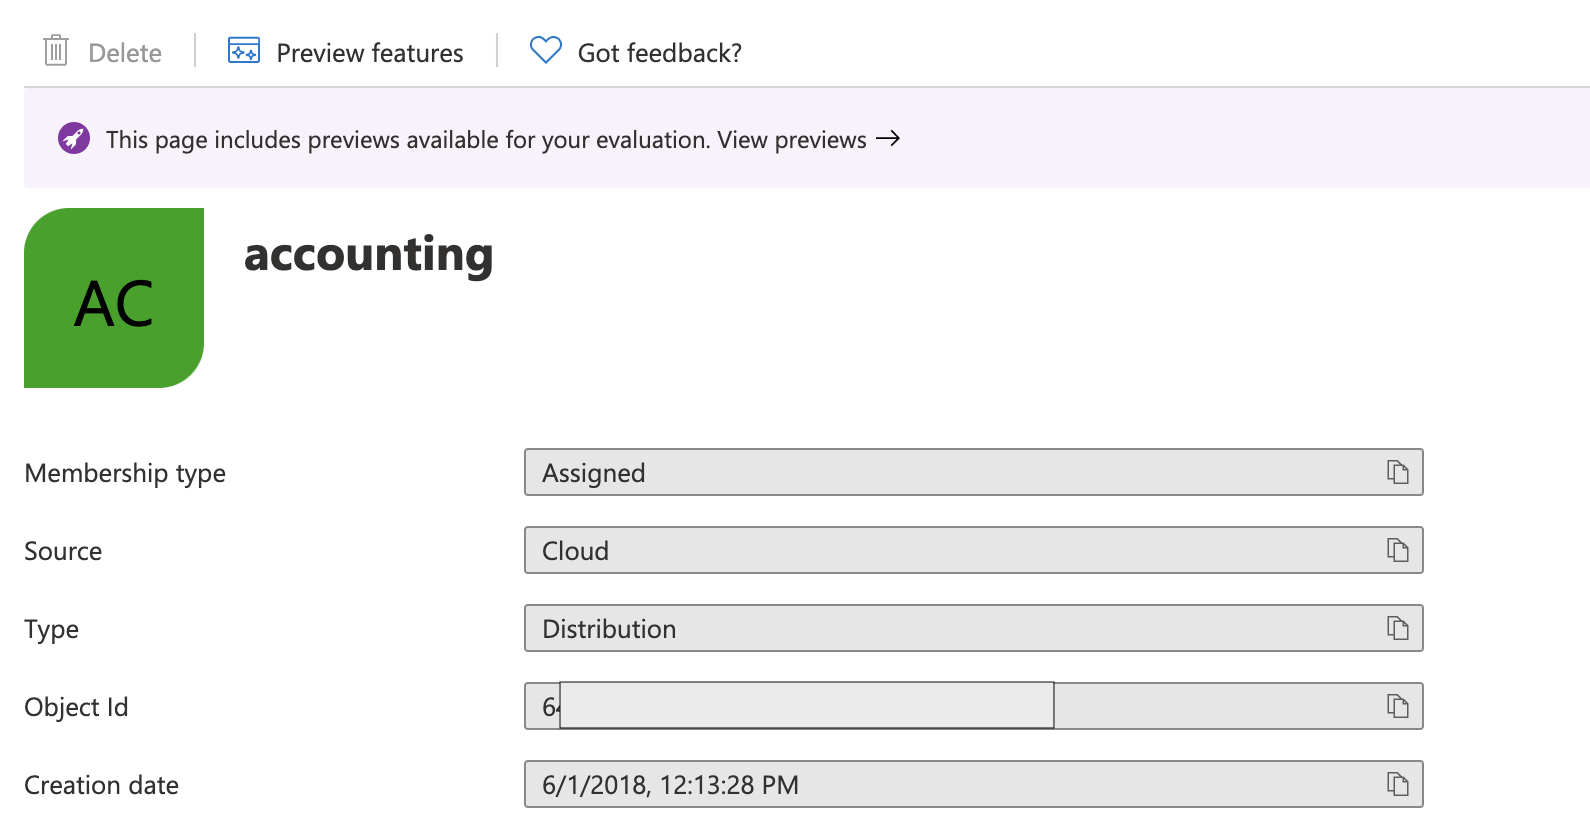
Once you clicked on groups, navigate or search for the group you want to filter through. Click on the group name and under overview, you shall see the Object ID. Copy that Object ID as you will need it for the code example below.
Code Block Example
You can get more info at Microsoft Graph API. Make sure to replace client_id, secret, tenant, and object ID with your crenditals you have in order to make the application run.
from azure.common.credentials import ServicePrincipalCredentials
from azure.graphrbac import GraphRbacManagementClient

# credentials you need in order to sign into Microsoft Azure

credentials = ServicePrincipalCredentials(
    client_id='clientId',
    secret='SecretValue',
    resource='https://login.microsoftonline.com/',
    tenant='tenantId'
)

tenant_id = 'tenantId'

# Pass the credentials into azure with your tenant id

graphrbac_client = GraphRbacManagementClient(
    credentials,
    tenant_id
)

# Grab the groups with your Object Id
junior_pentesters = graphrbac_client.groups.get_group_members('GroupObjectId')

# Print display name
for j in junior_pentesters:
    print(j.display_name)

print('\n')

# Grab the groups with your Object Id
senior_pentesters = graphrbac_client.groups.get_group_members('GroupObjectId')

# Print email
for s in senior_pentesters:
    print(s.mail)

# Grab group list
groups = graphrbac_client.groups.list()

# Helps print the groups of Active Directory

for g in groups:
     print(g.display_name)