Are you looking to build a docker image? Are you looking to build a docker image that will consist of a Django application? If so, you came to the right site! Today, we will be discussing more on how to build and tag a django application to a docker image that can be ready for deployment.
Getting started
In order to move forward, we must make sure we have the following.
The following:
Before we can create our project, lets create our virtualenv with our dependencies & libraries that may be needed for the application. We can start by following the instructions listed below.
- virtualenv -p python3 virtualenv_name
- source virtualenv_name/bin/activate
- pip install Django
Next, we must create a new Django application using the following command:
django-admin startproject project_name
Once completed, navigate to your manage.py and create a txt file called requirements.txt. Next, use the following the command to concat your dependecies to your txt file.
pip freeze > requirements.txt
Creating Docker File
Add the following to your Dockerfile
FROM python:3.7

# set environment variables
ENV PYTHONUNBUFFERED 1

# run this before copying requirements for cache efficiency
RUN pip install --upgrade pip

# set work directory early so remaining paths can be relative
WORKDIR /App

# Adding requirements file to current directory
# just this file first to cache the pip install step when code changes
COPY requirements.txt .

# install dependencies
RUN pip install -r requirements.txt

#copy code itself from context to image
COPY . .

# run from working directory and separate args in the json syntax
CMD ["python", "./manage.py", "runserver", "0.0.0.0:8000"]
Build, tag, and run our Docker image
Use the following command to build and tag your Docker image
- /* Command to tag & build your docker image */
Docker build . -t imageName
- /* Command to run our image on the extension and port *\
Docker run -d -p extension:port imageName
docker build . -t django_app

docker run -d -p 1234:80 django_app
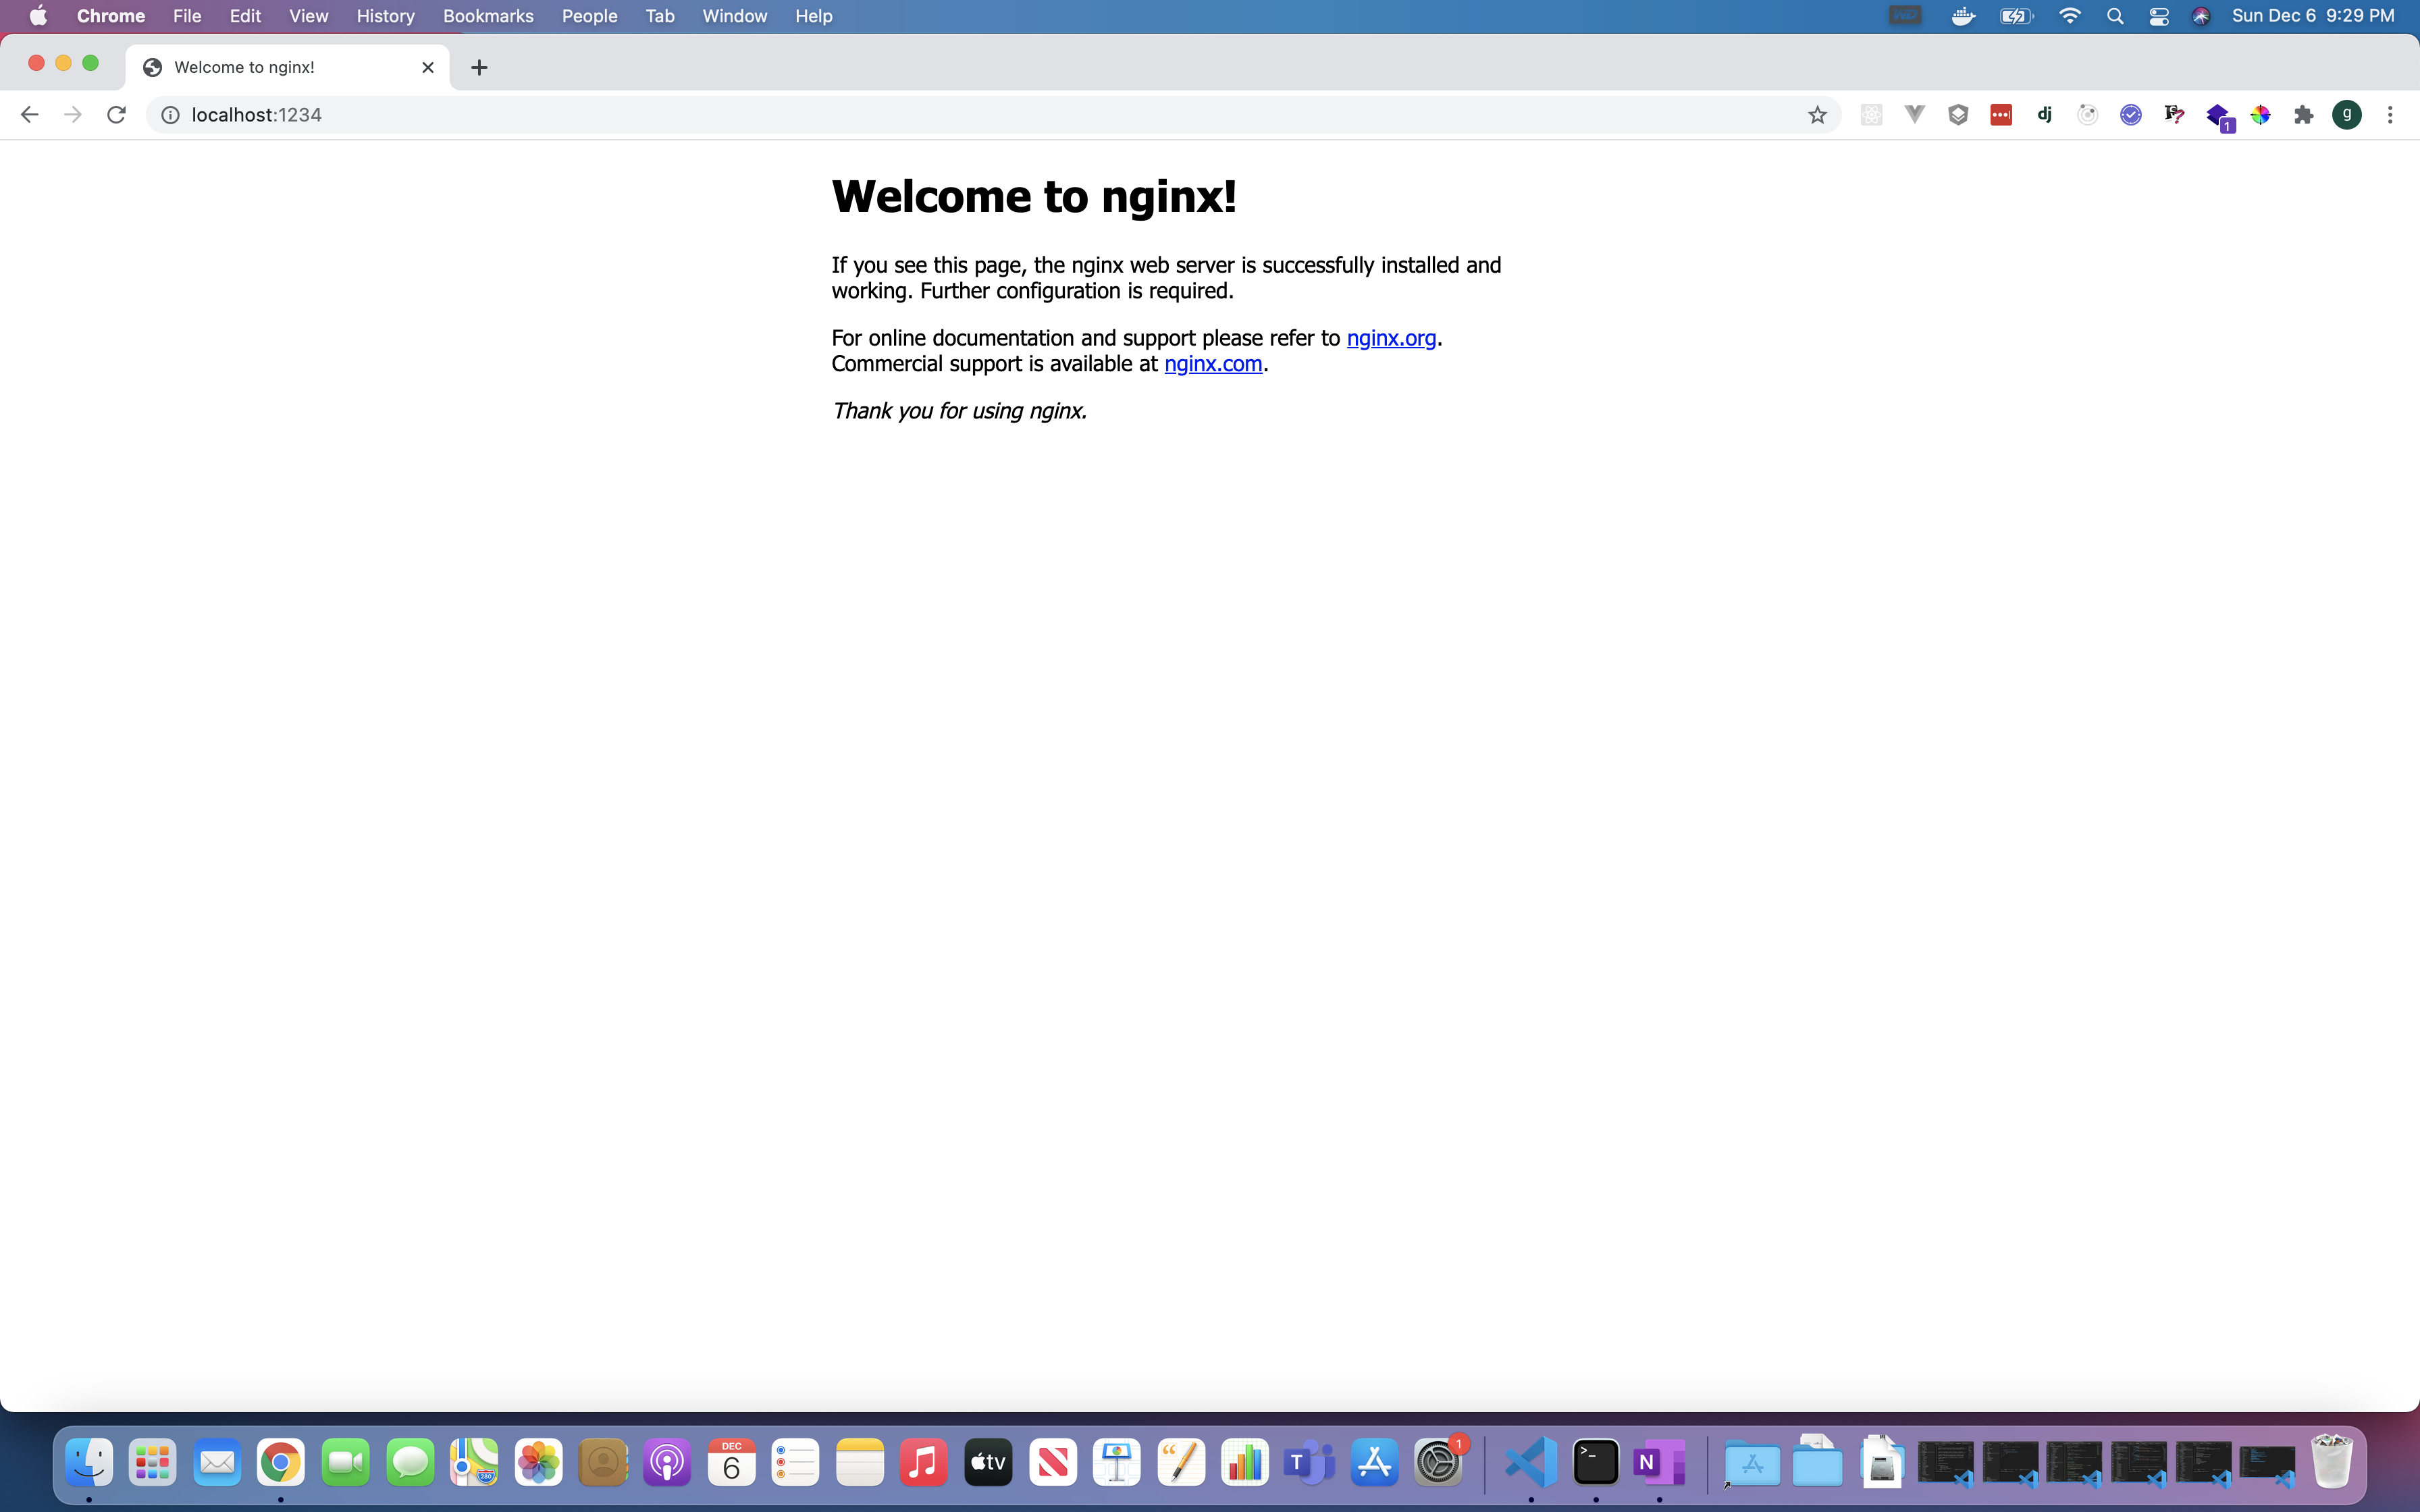
Once you follow the steps, go to localhost:extension (in my case, I will go to localhost:1234, since my extension is 1234) and press enter.